
If you are in a pinch and need a quicky halloween hat, this is the easiest D.I.Y ever!
You will need the following:


-Glue gun/glue stick
-scissors
-BLING!
-Sparkly felt (or regular felt)
- A different color felt for decoration (optional)
-Hair clip (optional if you are going to glue on headband/ribbon)
__________________________________________________________________________________
Step 1:
Depending on how big you want your hat is going to determine the size of your half moon shape. Practice this before cutting so you can determine which size works best for you. The length of my straight edge was about 8 inches. I used the sparkly felt because it is more stiff than regular felt, gives it some extra bling and heck they are 3/$1 at Hobby Lobby!

Step 2:
Form into a triangle shape and overlap your edge to make a cone. Glue the edge. ***You will need to trim the edge, there is no way around it...I tried.***


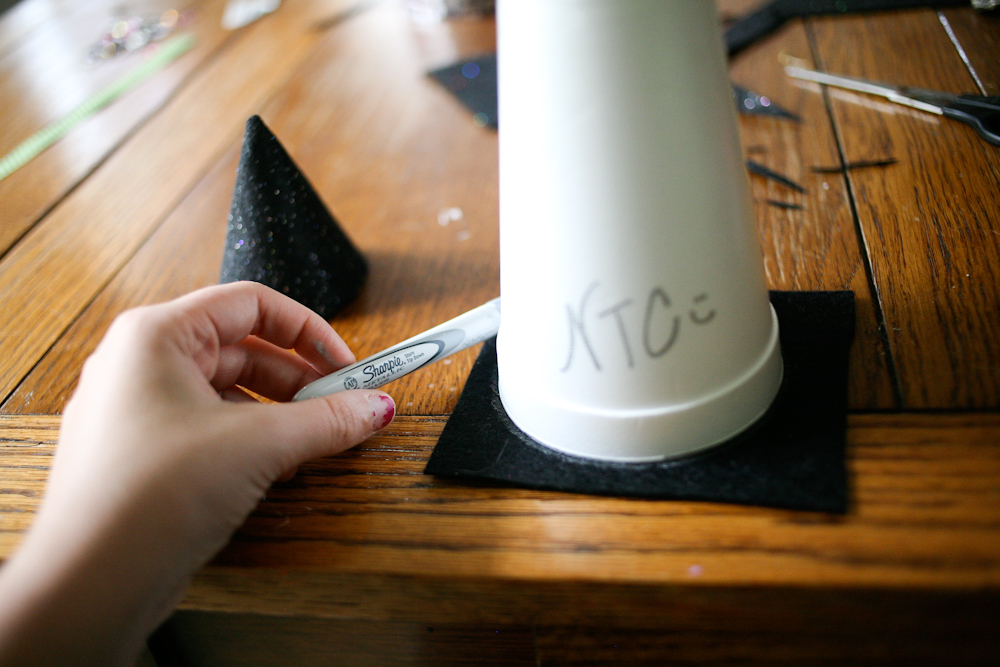
Step 3:
Depending on your cone size will determine how big the base of your hat should be. I found the closest cup I had and traced a circle on the BACK side of the felt. Cut out.
Step 4:
Make sure your cone and base are proportionate before glueing that sucker...I traced a smaller cup thinking it would be perfect and it was way too small...once you found the perfect size, hot glue cone to base.


Step 5:
I suppose the rest of the steps are optional but HELLO, your hat would be boring without some detail! I originally wanted to wrap the base of the cone with ribbon but it just wasn't sitting right due to it not being very flexible. I settled for some green felt.

Step 6:
Add your bling :)

Step 7:
I wanted this to be a hair piece that I could easily attach and detach from a head band for my daughter. I secured the hair clip to a piece of felt, and then glued the felt to the bottom of the base. You could also tie elastic string onto the hat for some funky halloween party hats or even for a make shift dog costume...the possibilities are endless!

Step 8:
Ahhhhh....sit back and admire that cute little thing and then go get some ZzZz's while the little ones rest ;)

I thought it turned out pretty darn cute! If I knew Amelia was going to hibernate all afternoon, I wouldn't have rushed through it - hence the glue. But it was for a pumpkin painting halloween party and it was perfect for the occasion! This was actually Amelias first time to interact with other babies, and I have GOT to do that more often, she loved being around so many kids!


Since she is going to be Wonder Woman this year (didn't want to mess her costume up at the partayyy) I am thinking I might just wear it when we take her trick or treating :)
What do you think?? Do I look ridiculous?!

Lovelove,
Nina Tank
this is soo cute Nina!
ReplyDeleteThis is precious! I hope I can finally meet sweet Amelia when I'm in Austin next week!
ReplyDelete